Ronald & Tony

The lost car
Page 2 / 9

Learner BrosThe lost car
Page 2 of The lost car. Dialogue transcript follows below.
2
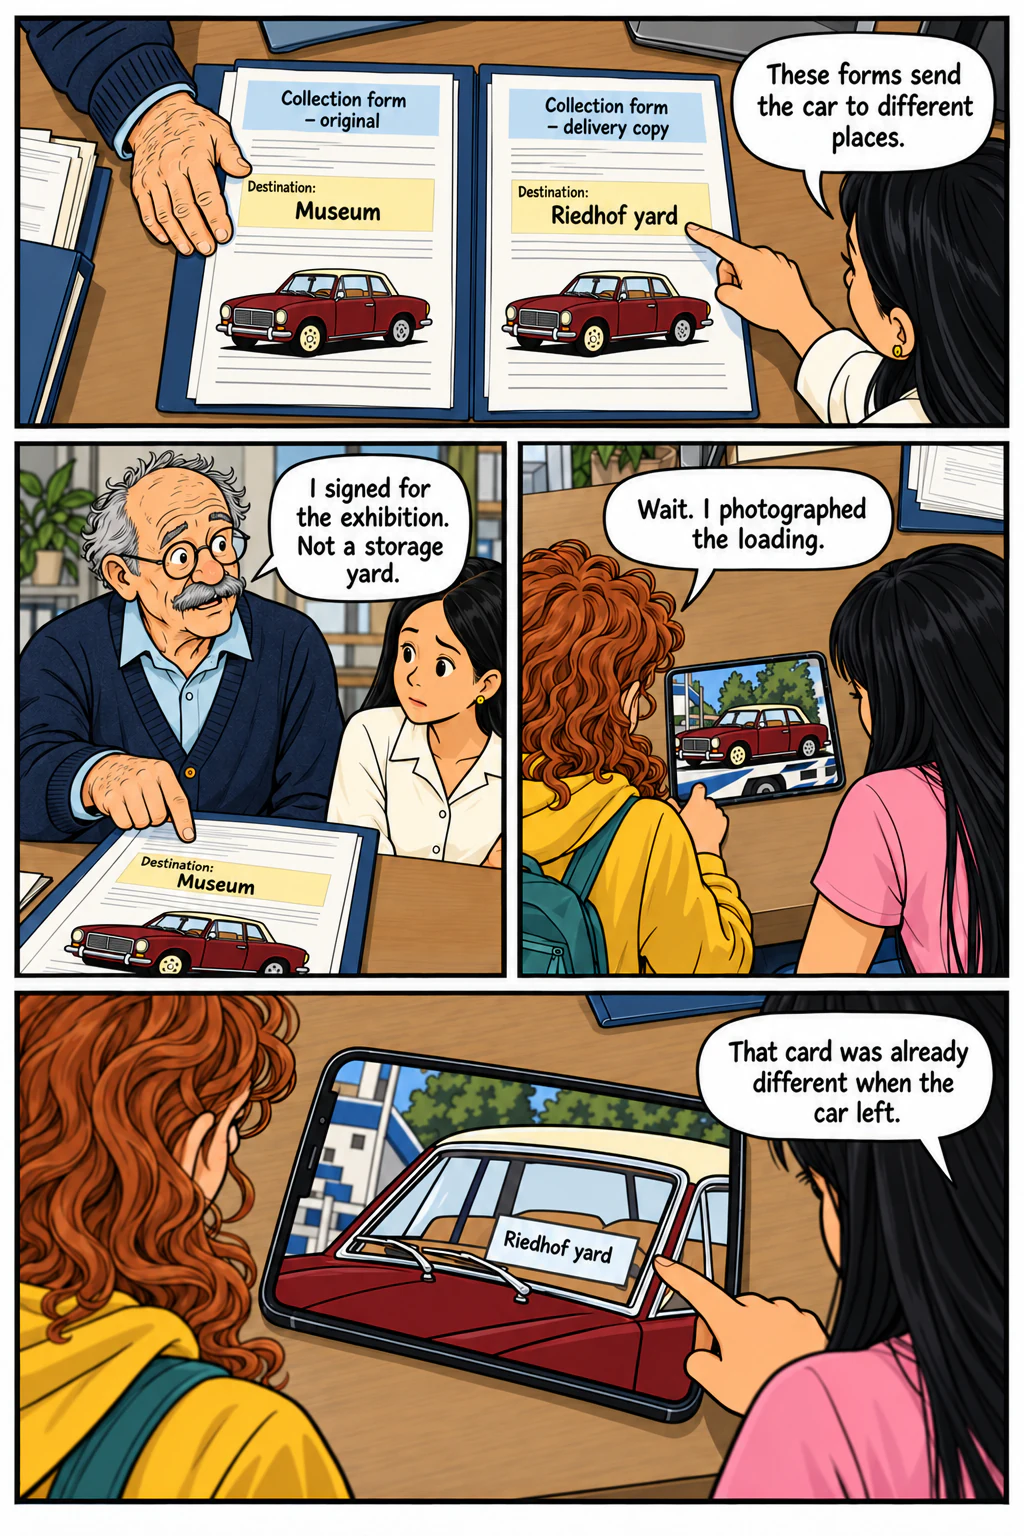
Overhead on helpdesk tabletop. Otto blue cuff places original collection form flat beside staff supplied delivery copy. Karen cream sleeve indicates two DIFFERENT destination fields. Simple legible labels original: Museum; copy: Riedhof yard. No signatures closeups. Karen: These forms send the car to different places.
Otto close with Karen, table below frame. He points to his original flat paper. Otto: I signed for the exhibition. Not a storage yard.
Mila and Harly seated side by side professionally looking DOWN at Mila phone resting flat on desk, seen from behind over shoulders. Screen photograph shows burgundy coupe on transporter, closed bonnet, creamroof, leftfrontcreamrim. Mila: Wait. I photographed the loading.
Close over-shoulder view of phone lying flat, screen upright toward Mila and Harly near edge. Photo shows car side and white destination card BEHIND front windscreen. Zoom makes card legible exactly Riedhof yard. Harly pink sleeve points to screen without covering text. Harly: That card was already different when the car left.
Read the transcript

Overhead on helpdesk tabletop. Otto blue cuff places original collection form flat beside staff supplied delivery copy. Karen cream sleeve indicates two DIFFERENT destination fields. Simple legible labels original: Museum; copy: Riedhof yard. No signatures closeups.
Karen: These forms send the car to different places.

Otto close with Karen, table below frame. He points to his original flat paper.
Otto: I signed for the exhibition. Not a storage yard.

Mila and Harly seated side by side professionally looking DOWN at Mila phone resting flat on desk, seen from behind over shoulders. Screen photograph shows burgundy coupe on transporter, closed bonnet, creamroof, leftfrontcreamrim.
Mila: Wait. I photographed the loading.

Close over-shoulder view of phone lying flat, screen upright toward Mila and Harly near edge. Photo shows car side and white destination card BEHIND front windscreen. Zoom makes card legible exactly Riedhof yard. Harly pink sleeve points to screen without covering text.
Harly: That card was already different when the car left.

Get the puzzle Free shipping
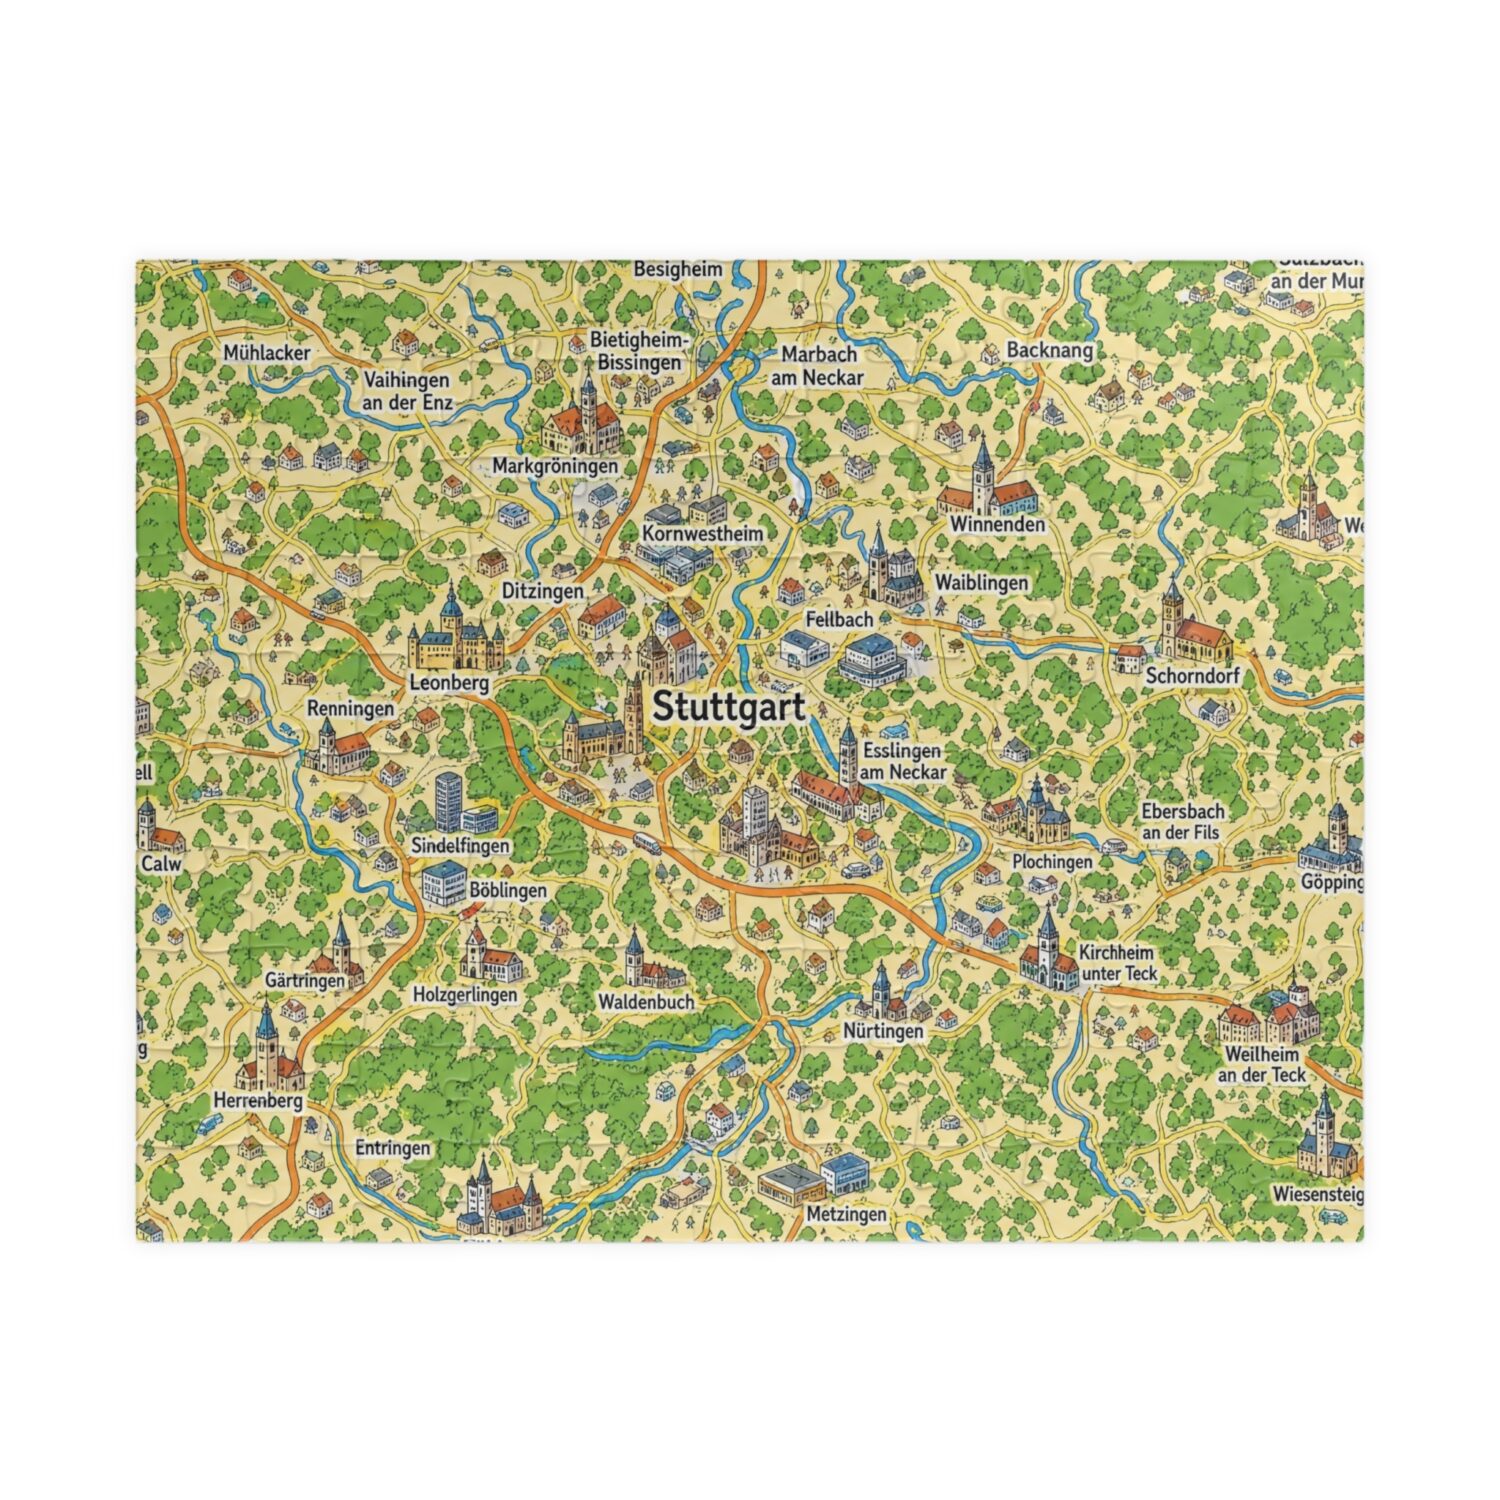
Currently shipping to the US only. Contact us for other options.
Map puzzle
Stuttgart
110, 252, 520 and 1,014 pcs
Price range: $24.99 through $59.99
Order map puzzle →
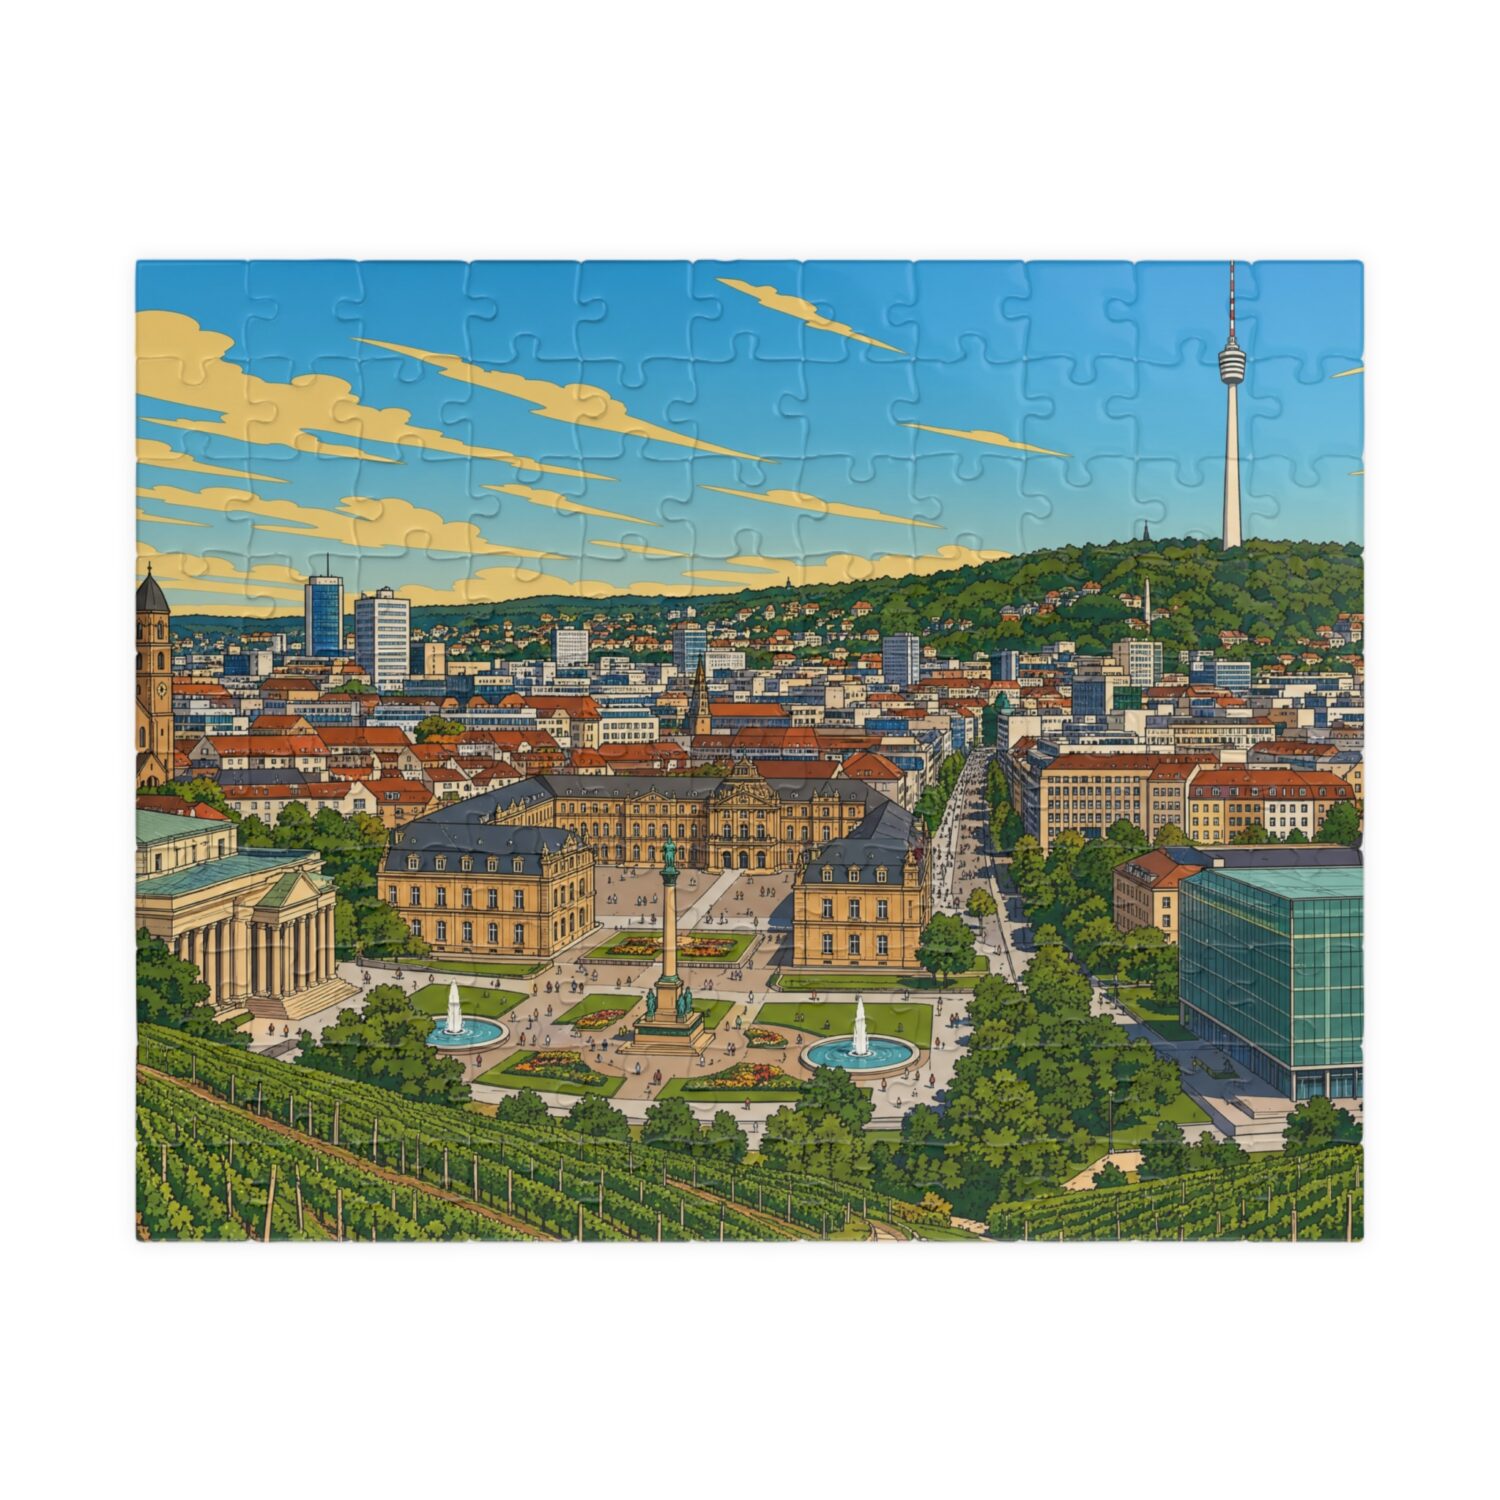
City puzzle
Stuttgart
110, 252, 520 and 1,014 pcs
Price range: $24.99 through $59.99
Order city puzzle →
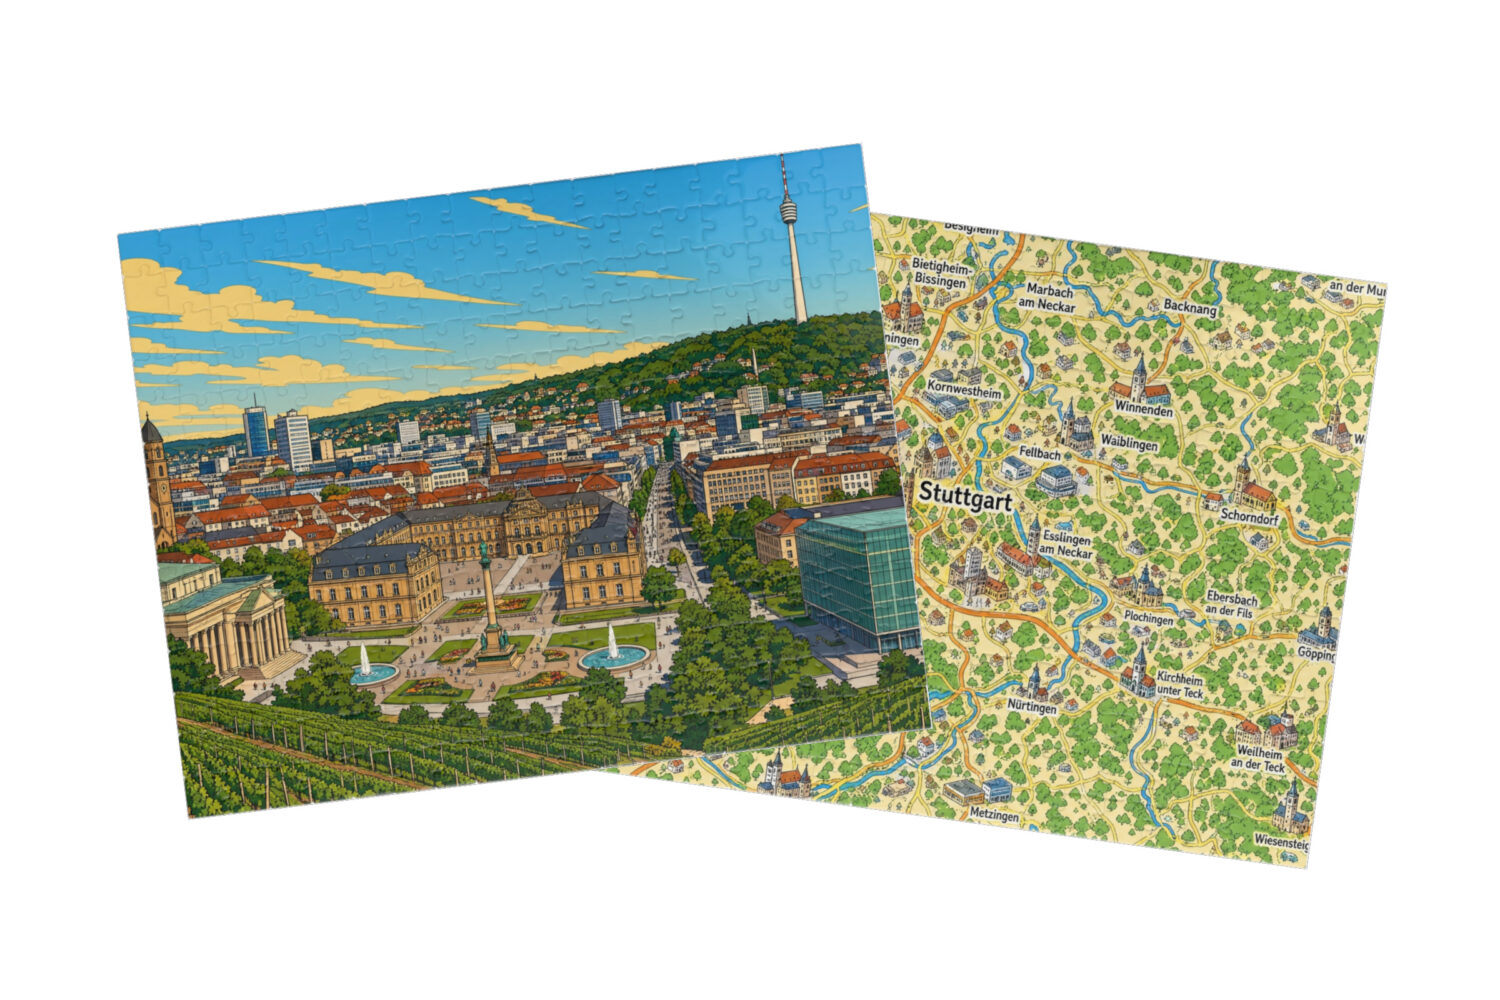
Complete set
2× Stuttgart
City puzzle + map puzzle — discounted
Price range: $44.99 through $99.99
Order set →